Chain Crimps Perfected! Easy Guide to Peak Performance
Chain Crimps Perfected! Easy Guide to Peak Performance
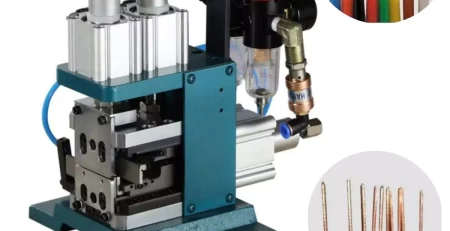
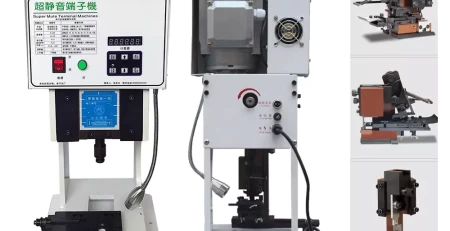
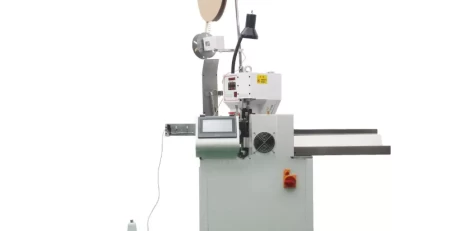
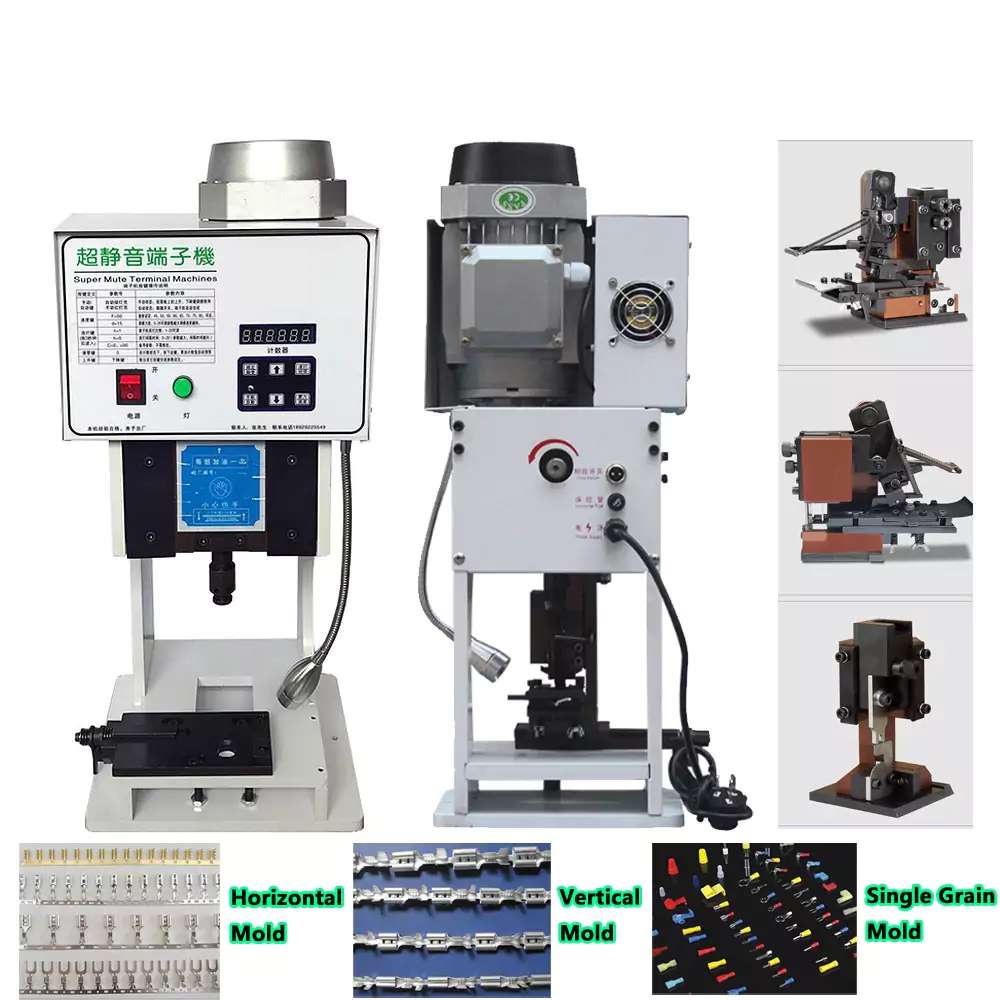
Flawed crimps on a delicate project can be a project-stopper. Chain terminal crimping machines are designed to create reliable connections, but even the best tools require some fine-tuning. This guide empowers you to transform your crimping machine, turning you into a connection pro.
Taming the Clamp: The Perfect Hold
A secure crimp relies on a precise clamping force, not an excessive squeeze. Here’s how to adjust the clamping pressure:
Loosen the Crew: Locate the adjustment bolts on your crimping machine. These control the clamping strength. Give them a slight turn to loosen them.
Turn and Tighten: Rotate the bolts in one direction (let’s call it clockwise) to loosen the clamp, while a counter-clockwise rotation applies tension. Find the sweet spot: the wire should feel secure without being squeezed excessively.
Lock and Load: Once you’ve achieved the perfect clamping pressure, tighten the adjustment bolts back down using the fixed bolts. A secure clamp is crucial for optimal crimping.
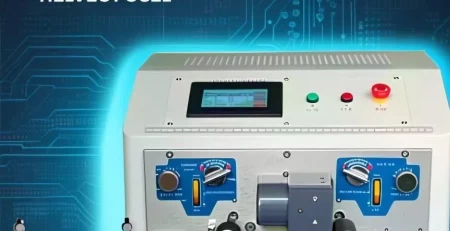
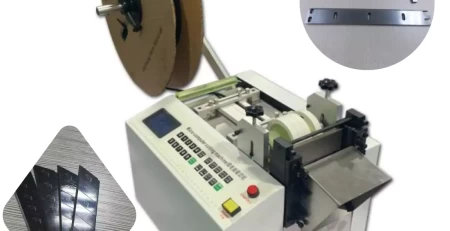
Blade Precision: Achieving Flawless Cuts
Think of your machine’s blades as tiny, precise tools. Proper positioning is key for a flawless performance.
Blade Ballet Sequence: The order of blade installation matters. Refer to your machine’s manual for the proper sequence to ensure everything aligns perfectly.
Fine-Tuning Depth: The blade’s “bite” depth into the wire is crucial. After securing the blades, use the dedicated adjustment screw to control this depth. Turning it clockwise makes them cut shallower, while counter-clockwise allows for a deeper cut. Find the setting that cleanly removes insulation without damaging the wire itself.
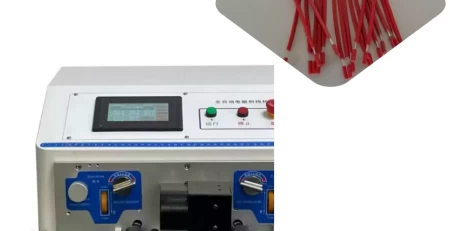
Feeding Frenzy: Ensuring Perfect Placement
The wire needs to be positioned correctly at the “crimping table.” Here’s how to adjust the feeding terminal position:
A Manual Maneuver: Locate the camshaft of the stripping part and give it a manual spin. This retracts the slider, creating space for you to work.
Eye on the Prize: Now, manually rotate the terminal shaft. This should feed the end of the wire forward. Inspect its position – is it centered and ready for a perfect crimp?
Fine-Tuning the Feast: If the wire isn’t quite in the ideal spot, use the feeding terminal micro-adjustment rod to nudge it into the perfect position. With practice, you’ll be a master wire feeder!
Remember, this guide offers general adjustments. Always refer to your machine’s manual for specific instructions and maintenance routines. With a little know-how and practice, you can transform your chain terminal crimping machine into a tool that empowers you to create secure and reliable connections, eliminating project-stopping frustrations.