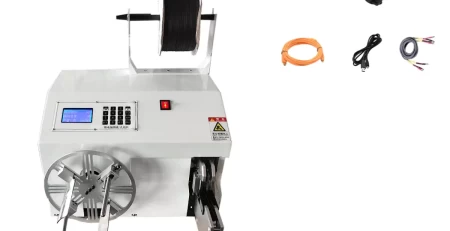
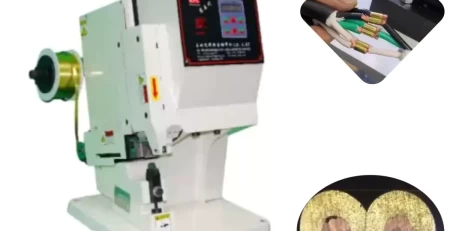
Auto Wire Stripping: Safe Setup Guide (Cut & Strip Fast!)
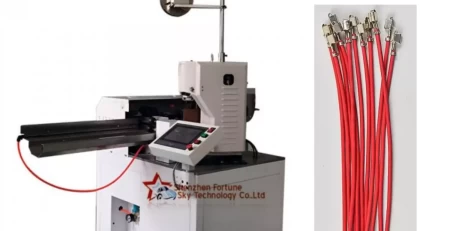
Mastering the Wire Whisperer: A Guide to Fully Automatic Wire Cutting and Stripping Machines
Introduction: Unlocking the Full Potential of Your Machine
Fully automatic wire cutting and stripping machines revolutionize wire processing by delivering precision, speed, and consistency. However, setting them up correctly is crucial for optimal performance.
This guide provides a step-by-step walkthrough to help you configure your machine efficiently, ensuring clean cuts, accurate stripping, and safe operation. Whether you’re working with electronics, automotive wiring, or industrial cables, these best practices will maximize your machine’s capabilities.
Step 1: Understand Your Machine’s Capabilities
Before diving into setup, familiarize yourself with your machine’s specifications:
✔ Model & Manufacturer – Check the manual for exact features.
✔ Wire Compatibility – What gauges (AWG/mm²) can it handle?
✔ Stripping Modes – Does it support laser, mechanical, or thermal stripping?
✔ Additional Functions – Some machines offer twisting, tinning, or crimping.
Pro Tip:
Keep the user manual handy for quick reference.
If available, download the latest firmware updates for enhanced functionality.
Step 2: Establish a Connection (Computer & Machine)
Most modern machines allow PC connectivity for advanced programming.
Connection Options:
Port Type Best For Setup Notes
USB Quick plug-and-play Install drivers if required
LAN (Ethernet) Factory automation Configure IP settings
RS-232 (COM) Legacy systems Check baud rate compatibility
Troubleshooting Tips:
If the connection fails, restart both devices.
Ensure the correct communication protocol is selected (e.g., Modbus, USB-CDC).
Step 3: Select the Right Stripping Mode
Different wires require different stripping approaches:
Common Stripping Modes:
Standard Mechanical Stripping – Best for PVC, silicone, and Teflon wires.
Laser Stripping – Ideal for ultra-fine wires (medical/aviation).
Thermal Stripping – Used for thick insulation (e.g., XLPE cables).
How to Choose:
Check the wire insulation type (soft PVC vs. hard Teflon).
Match the blade type (V-cut, rotary, or laser).
Step 4: Optimize Temperature & Timing Settings
Precision stripping depends on two key factors:
A. Temperature (For Thermal Stripping Machines)
Insulation Type Recommended Temp. Range
PVC 150°C – 200°C
Silicone 250°C – 300°C
Teflon 350°C+
B. Timing (For Mechanical Stripping)
Too fast → Incomplete strip or wire damage.
Too slow → Reduced productivity.
Testing Method:
Start with manufacturer-recommended settings.
Run 5 test strips and inspect for:
Clean insulation removal (no fraying).
Undamaged conductor (no nicks or cuts).
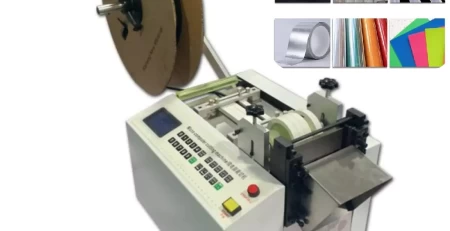
Step 5: Utilize Optional Cleaning Functions
Some high-end machines include wire cleaning features:
✔ Air Blow – Removes debris from stripped ends.
✔ Brush Cleaning – Polishes conductors before crimping.
✔ Flux Application – Prepares wires for soldering.
When to Use Cleaning:
Dirty or oxidized wires (improves conductivity).
Precision soldering applications (removes contaminants).
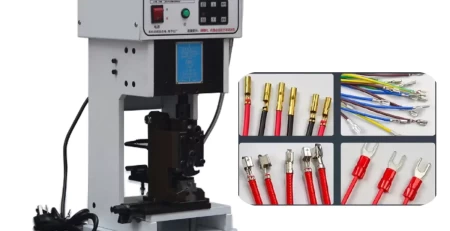
Step 6: Prioritize Safety Measures
Wire processing machines involve sharp blades, high heat, and moving parts.
Essential Safety Features to Check:
✅ Emergency Stop Button – Instantly halts operations.
✅ Protective Covers – Prevents accidental contact with blades.
✅ Auto-Shutoff – Activates if overheating occurs.
Best Practices:
Always wear safety glasses.
Keep fingers clear of moving parts.
Regularly inspect blade sharpness and alignment.
Final Checks Before Full Operation
Before running large batches:
Verify blade alignment (misalignment causes uneven strips).
Test multiple wire types (ensure consistency).
Monitor motor temperature (overheating reduces lifespan).
Conclusion: Achieving Perfect Strips Every Time
By following this guide, you’ll:
✔ Maximize efficiency with optimized settings.
✔ Reduce material waste from errors.
✔ Extend machine lifespan through proper calibration.
Ready to streamline your wire processing?
Step 7: Unleash the Wire Whisperer
With all the parameters set and safety measures in place, it’s time to unleash the power of your fully automatic wire cutting and stripping machine! Hit the “run” button and watch as your machine effortlessly handles those once-dreaded wire stripping tasks.
A Final Note:
Remember, these are general guidelines, and specific settings and steps may vary depending on your machine’s brand and model. If you encounter any difficulties, don’t hesitate to consult your user manual or reach out to the manufacturer for assistance. With a little know-how, you’ll be a fully automatic wire cutting and stripping pro in no time!
Find expert wire stripping twisting machine technical resources on our specialized page.