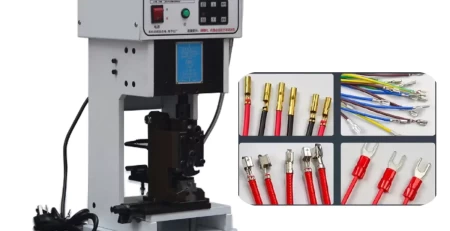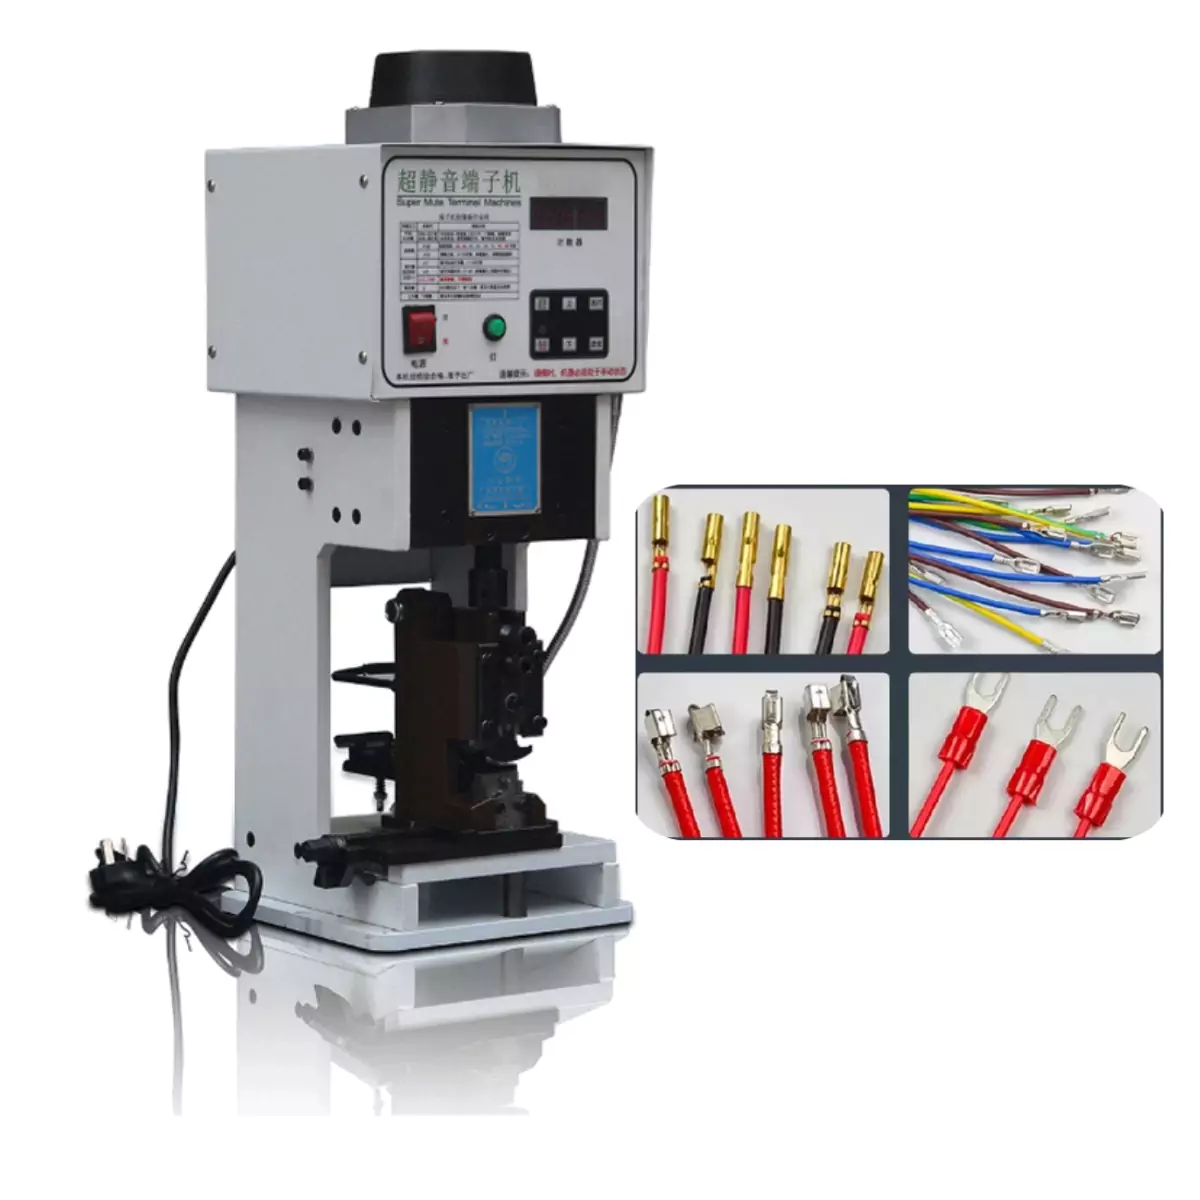
Keep Chain Terminal Crimping Smooth:Maintenance Guide
Troubleshooting Continuous Punching Faults in Chain Terminal Crimping Machines
This guide addresses troubleshooting steps for continuous punching faults encountered in chain terminal crimping machines. By following these procedures, you can effectively diagnose and resolve the issue, minimizing downtime and ensuring smooth operation.
1. Foot Pedal Inspection:
The foot pedal is a critical component that initiates the crimping process. Begin by checking for any visible signs of damage on the foot pedal itself or the connecting wires. Additionally, verify whether the connection between the pedal and the machine is secure and free of loose wires. If you discover any damage or malfunction, a replacement foot pedal is necessary to restore proper functionality.
2. Proximity Switch Verification:
The proximity switch plays a vital role in the machine’s cycle, signaling when the crimping arm reaches its designated position. If the chain terminal crimping machine experiences continuous punching, there’s a possibility of a faulty proximity switch. To verify functionality, consult the manufacturer’s instructions for specific testing methods. If a malfunction is confirmed, replace the proximity switch with a compatible model.
3. Fuse Examination:
Electrical faults can sometimes manifest as unexpected machine behavior. Check the fuse for any signs of damage, such as a blown fuse or discoloration. If the fuse is indeed damaged, promptly replace it with a fuse of the same rating to restore power to the machine’s electrical circuits.
4. Lubrication and Adjustment:
For optimal performance and to prevent potential issues like continuous punching, ensure the chain terminal crimping machine receives proper lubrication. Following the manufacturer’s recommendations, apply a suitable amount of grease to designated lubrication points (typically around hole 4) daily. Additionally, verify that the operating environment maintains a temperature within the recommended range (usually between -2°C and 50°C).
5. Motor Inspection:
Unusual noises or odors emanating from the motor can indicate potential malfunctions. If you suspect a failing motor, visually inspect it for any signs of smoke or burning. In such cases, replacing the motor with a compatible model is necessary. Remember to ensure the replacement motor operates at the same voltage as the original to prevent electrical issues.
6. Mold Jam Identification:
Occasionally, a jammed mold can cause the continuous punching fault. This occurs when debris or a misaligned terminal prevents the smooth movement of the mold during the crimping cycle. To inspect for a mold jam, first power down the machine and lock it out to ensure safety. Then, use a wrench to turn the screw located at the rear of the spindle, carefully loosening the mold. Attempt to move the mold and slider up and down manually. Observe if the upper and lower crimping blades come into contact with the sides or tops of the terminals, indicating a potential obstruction. Once the source of the jam is identified, clear any debris or adjust the terminal placement accordingly.
7. Blade Mold Replacement Safety Precautions:
If replacing the blade mold is necessary, always prioritize safety. Ensure the machine is completely powered down and switched to manual mode before attempting any maintenance procedures. Refer to the manufacturer’s instructions for specific steps and safety protocols regarding blade mold replacement.
By systematically conducting these troubleshooting procedures, you can effectively address continuous punching faults in your chain terminal crimping machine. Remember, consulting the manufacturer’s manual for specific instructions and safety guidelines is always recommended when troubleshooting any equipment malfunction.