Crimping Delays Solved! Fix & Maintain Your Machine
Crimping Delays Solved! Fix & Maintain Your Machine
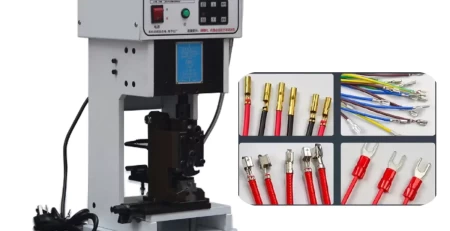
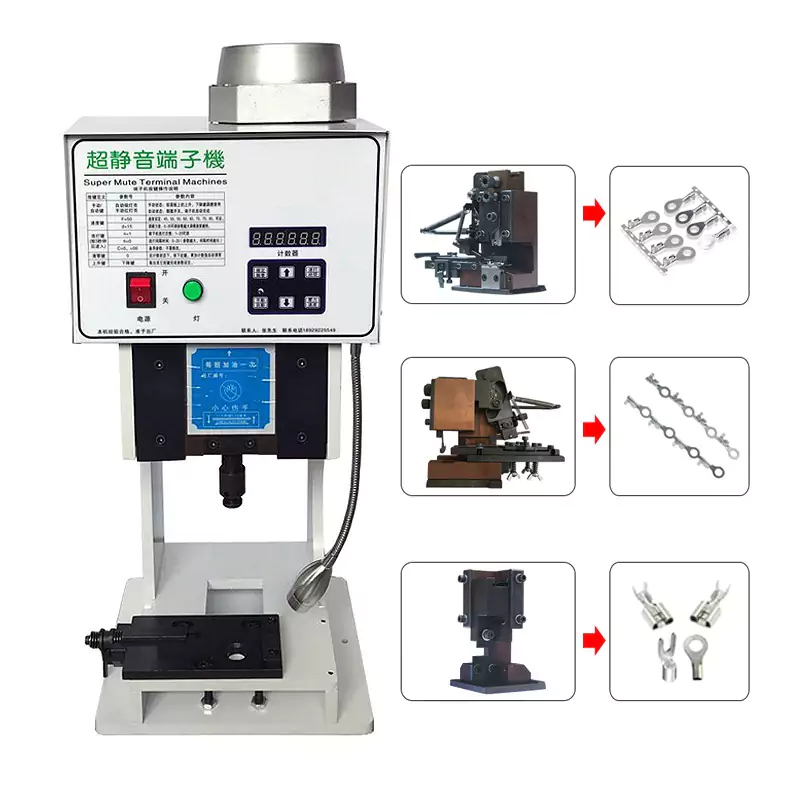
Your versatile wire terminal crimping machine is a workhorse, ensuring secure and reliable connections in your projects. However, even the most dependable machines can encounter occasional issues. This guide offers solutions to common problems and outlines preventative maintenance steps to keep your machine operating at peak performance.
Addressing Common Issues:
Foot Pedal Troubles: If the foot pedal switch becomes unresponsive, stiff, or damaged, the best course of action is to replace it directly. A faulty foot pedal can disrupt your workflow and impact productivity.
Repeated Strikes: Repeated striking during operation may indicate a problem with the proximity switch. This switch is responsible for sensing the position of the crimping head and controlling its movement. Consider checking the switch for proper function and replacing it if necessary.
Blown Fuse: A damaged or blown fuse in the semi-automatic terminal machine can cause it to malfunction. Replace the fuse with one of the correct rating, as specified in the user manual, to restore power and functionality.
Sluggish Operation: If the machine’s mechanical action feels sluggish, lubrication is likely needed. Apply grease 1 to 3 times daily on the designated oil holes: one hole with three sliding surfaces on the slider and three holes on the die. Additionally, maintaining the ambient temperature between -2°C and 50°C can help ensure smooth operation.
Motor Malfunction: If the motor exhibits signs of malfunction, such as smoking or strange odors, immediate replacement is crucial. Ensure you choose a motor with the correct voltage rating (180W) to avoid further damage.
Troubleshooting and Fixing Mold Issues:
Stuck Mold: If the mold gets stuck and won’t slide up and down, follow these steps cautiously:
Do not operate the machine manually.
Use a wrench to turn the screw at the end of the main spindle. This will drive the slider and the punch head.
Observe the upper and lower blades for any damage or signs of scratching the machine. Damaged blades can cause the mold to get stuck.
Replacing and Adjusting Blades (Semi-Automatic Machines Only):
Important Note: Always ensure the machine is off and power is disconnected before replacing the blade mold.
Mold Height Adjustment:
Loosen the screw tightening the punch head.
Use a small rod to rotate the screw rod adjustment (six equally spaced holes). Clockwise rotation raises the punch head, while counterclockwise lowers it. Each rotation adjusts the height by 0.25 millimeters.
Adjust the punch head to the appropriate position for optimal wire core connection before tightening the screw.
Blade Gap Adjustment:
Fine-tune the height of the PVC pressure roller.
Loosen the screw tightening the upper blade.
The upper blade has eight indicators (1 to 8). A higher number indicates a lower blade height, with each indicator corresponding to a 0.1-millimeter difference.
Rotate the blade to the appropriate position for proper wire insulation connection before tightening the screw.
Feeding Part Adjustment:
Move the slider to the top position using the up and down keys.
Loosen the screw tightening the feeding rod fixing seat.
Rotate the feeding adjustment screw rod (clockwise moves backward, counterclockwise moves forward) to center the terminal within the blade.
Adjust the feeding plate until it reaches the optimal position, indicating a successful adjustment.
Preventative Maintenance:
Regular maintenance is vital for maximizing the lifespan and performance of your machine. Here are some key steps:
Cleaning: Regularly clean the machine to remove dust, debris, and wire scraps that can accumulate and hinder smooth operation. Refer to the user manual for specific cleaning procedures.
Lubrication: As mentioned earlier, consistent lubrication of designated oil points is crucial for smooth mechanical movement.
Inspection: Regularly inspect the machine for signs of wear and tear, including damaged blades, loose screws, or worn wires. Address any issues promptly to prevent further problems.
By following these troubleshooting tips and implementing a regular maintenance routine, you can ensure your versatile wire terminal crimping machine operates smoothly and efficiently for years to come. Remember, addressing minor issues promptly can prevent them from escalating into bigger problems, saving you time and money in the long run.
Find expert terminal crimping machine technical resources on our specialized page.