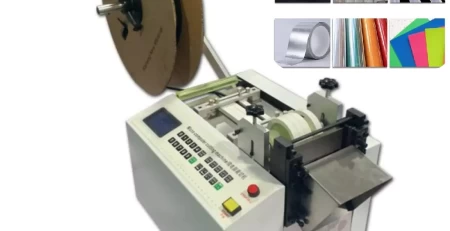
What is the operation procedure for using a wire splicing machine?
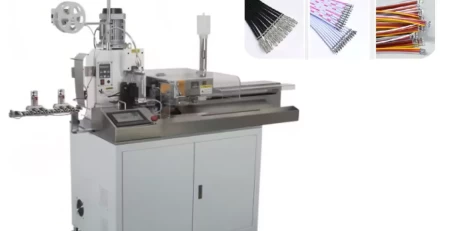
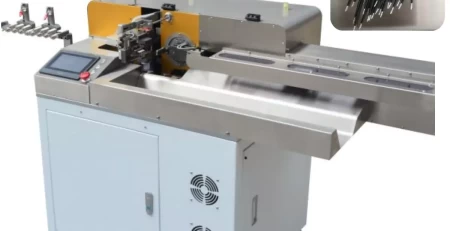
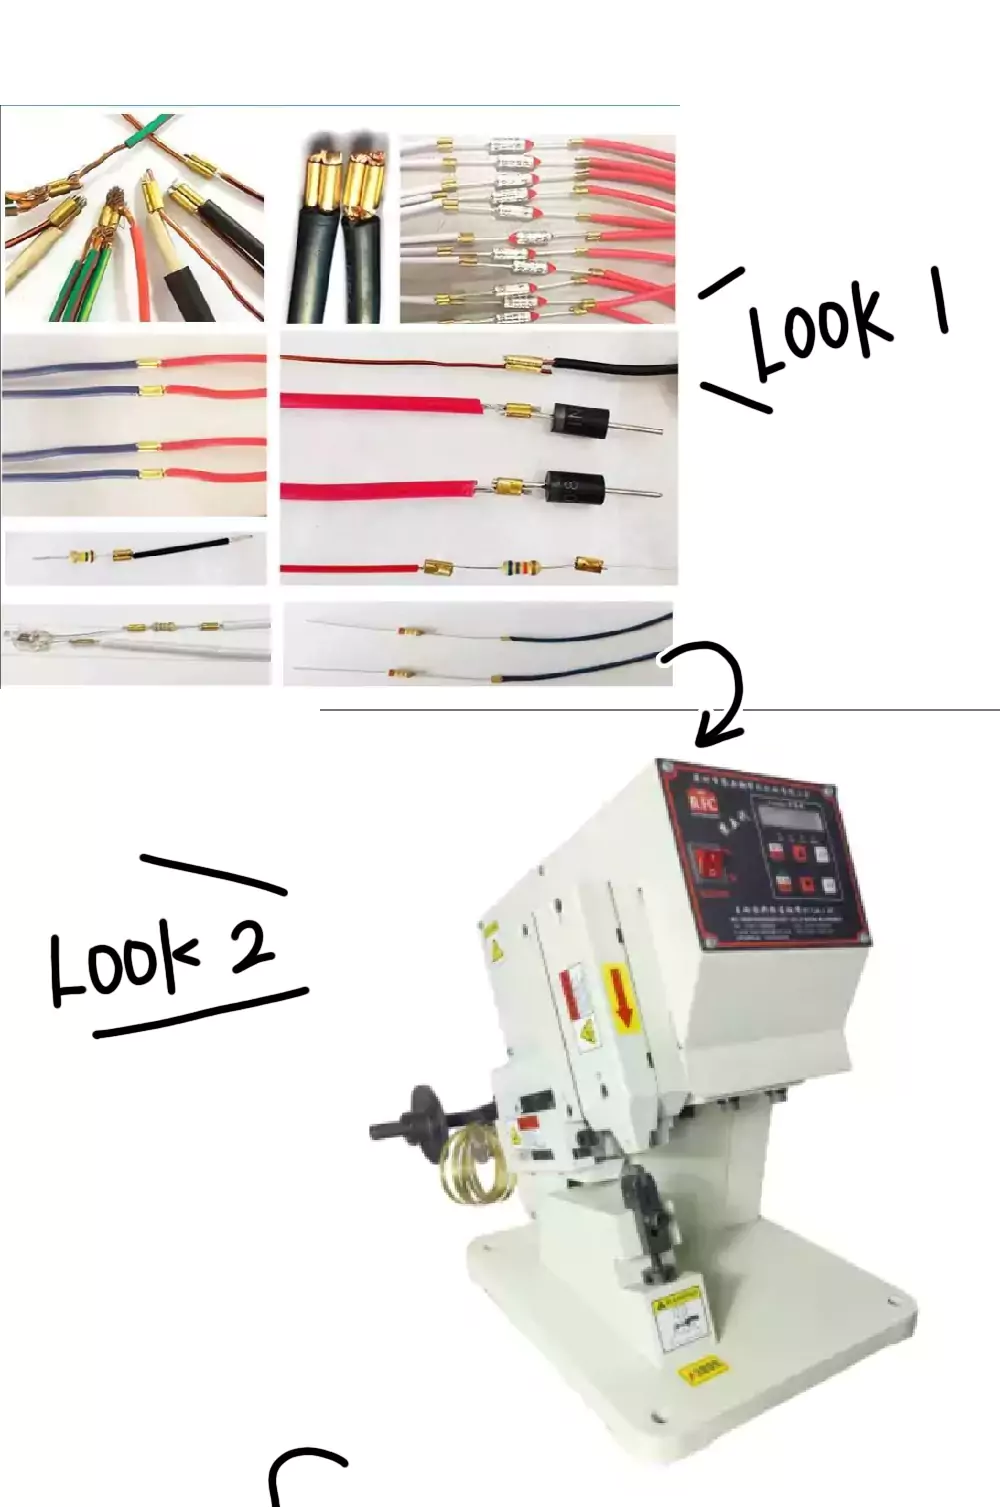
A wire splicing machine is a device that can complete automated processing. It’s a machine designed for crimping wire terminals, using a special continuous copper belt terminal material that is cut, formed, and crimped in one go, making it convenient for connecting wires. It replaces the traditional soldering method, is safe, pollution-free, and produces no waste, which saves costs. Now, let’s discuss the wire splicing machine’s operation process, which can be divided into the following 6 points:
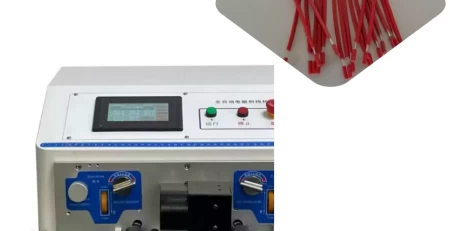
I. Based on the specifications of the wire to be cut, replace the wire pulling tube with the appropriate size.
II. Turn the switches on both sides to the “D” (up) position to raise the upper rollers. Place the wire between the upper and lower rollers, then lower both rollers. Rotate the gap adjustment wheels on both sides to adjust the rollers until they lightly touch the wire’s surface, then lower the gap adjustment wheels by another 3-4 notches.
III. Guide the wire through the wire guide wheel and front pressing roller into the wire pulling tube, extending 2mm beyond the cutting blade.
IV. According to the operating instructions, set the total wire length, the stripping length for both ends, and the half-stripping length for both ends. Set the total quantity and the quantity per bundle. Based on the wire thickness, set the blade value and the retraction value (each unit for the blade and retraction values is 0.04mm; the blade value is proportional to the wire thickness, and the retraction value is typically chosen between 10 and 15).
V. Press the start switch to test cut 3-5 pieces. Check if the wire ends are cut without scraping the copper strands and if the cut is smooth. Adjust the blade value with the setting values as needed. Use a steel ruler to check if the total wire length, stripping, and half-stripping dimensions are within the allowed tolerance range. Adjust the setting values to correct the dimensions to meet the standard as needed.
VI. After the debugging is complete, begin formal production. The cutting machine will pause after completing the set quantity per bundle. At this point, remove the wires from the receiving tray and press the start switch at the same time (a pause duration can be set for the machine to restart automatically). While the next batch is being cut, organize the wires in your hand, bundle them with a rubber band, and place them in a plastic tray or cardboard box.
The proper use of a wire splicing machine is very important. Small problems that arise during its use can be resolved in a timely manner. We will now introduce how to solve the following issues to avoid impacting our normal work.
Uneven exposure of copper strands in the crimped terminal: Check if the swing arm guide tube matches the wire; check if the terminal machine’s blade is aligned with the swing arm guide tube; check if the terminal machine’s auxiliary pressure block is loose; check if the distance between the terminal machine and the automatic machine has changed.
Inconsistent electronic wire cutting length: This is due to the wire feeding wheel being too tight or too loose. At this point, you can use the rolling wheel micro-adjustment component to adjust the gap between the two wheels to prevent the wire from being flattened or slipping due to being too loose. It could also be due to a worn or dull cutting blade. If you encounter this problem, the solution is simply to replace the new cutting blade.
The above are the operation process for a wire splicing machine and some minor issues that may occur during actual work. In case of any abnormalities, be sure to turn off the power first. Finally, always remember to clean the machine after use.