Precise Cuts Guaranteed: Sheet Cutter Setup Guide
Master Your New Fabric Cutter: Install and Optimize
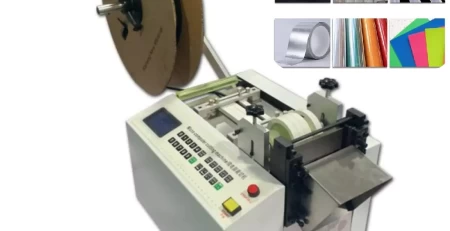
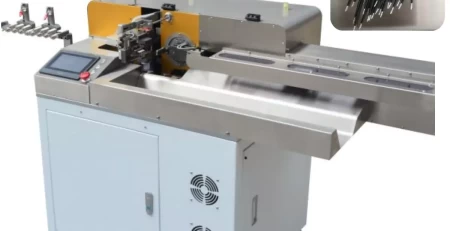
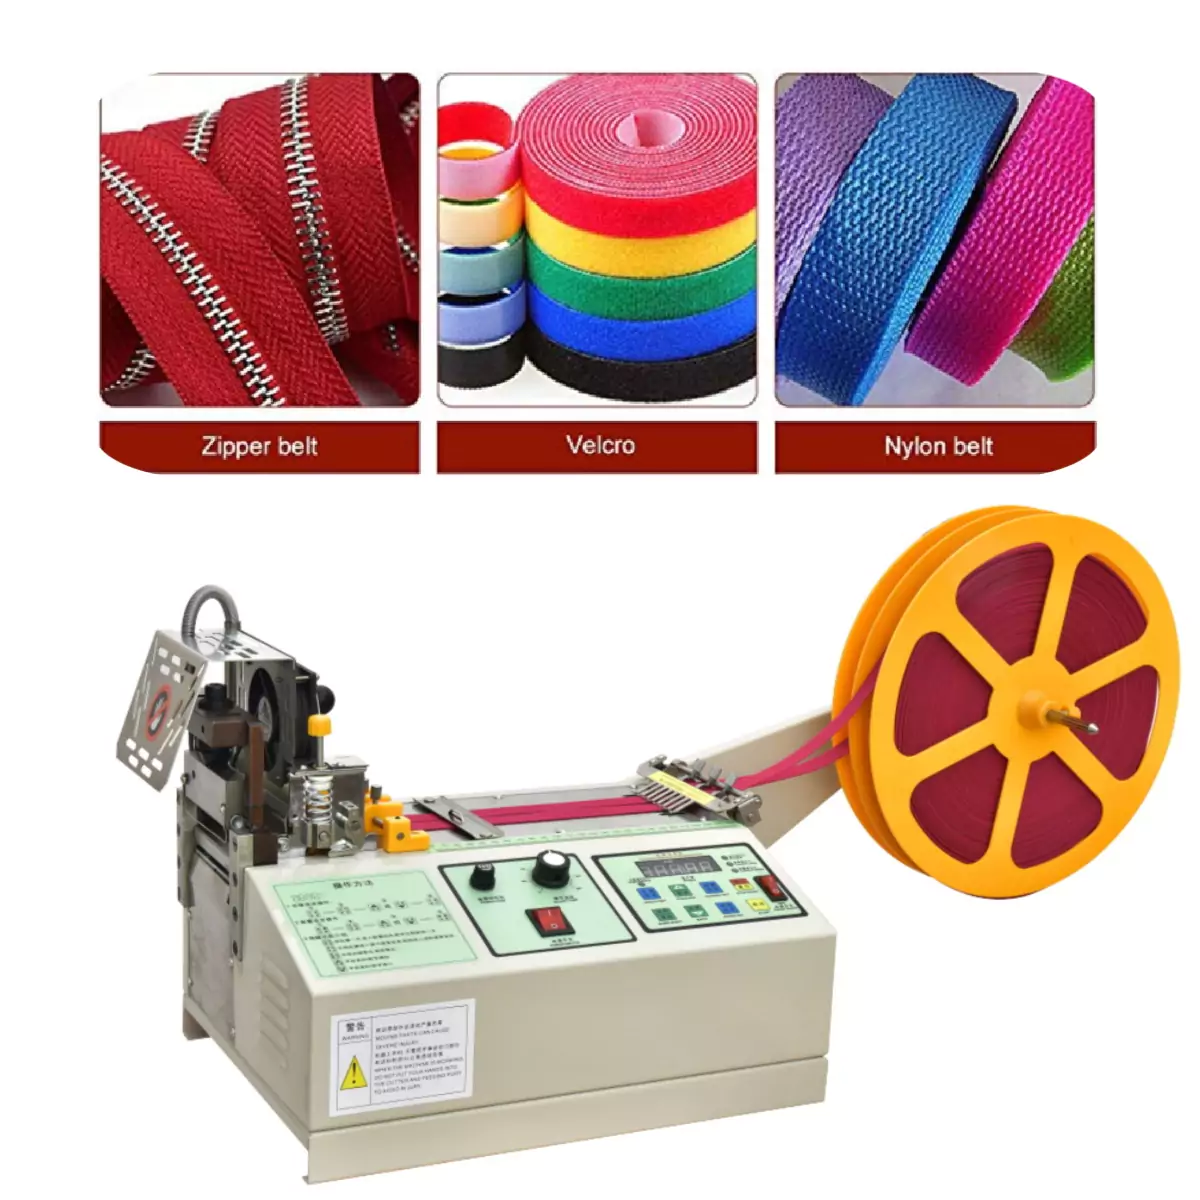
Congratulations on acquiring your new fabric cutter! This versatile machine boasts both heat and cold cutting capabilities, expanding your fabric handling potential. This guide simplifies the installation and adjustment process, ensuring your cutter is operational and efficient in no time.
Setting the Stage for Success
Before diving into installation, gather the necessary tools and materials. Identify a designated installation area with ample workspace and a readily accessible power outlet.
Verifying Components
Upon receiving your fabric cutter, carefully unpack it and meticulously inventory all included accessories. These components, often referred to as the “essential kit” by manufacturers, are crucial for optimal operation. Ensure everything is present and undamaged.
Building a Solid Foundation
The installation journey begins with establishing a sturdy base. Start by assembling the frame rail, meticulously verifying its proper alignment and stability. This frame serves as the foundation for precise cutting operations.
Ensuring Stability
Next, securely install the four feet of the guide rail. These feet play a vital role in maintaining stability throughout the cutting process, minimizing vibrations and guaranteeing consistent results.
Assembling the Worktable
The worktable serves as the central hub of your cutting setup. Assemble it according to the manufacturer’s instructions, ensuring all components are firmly secured.
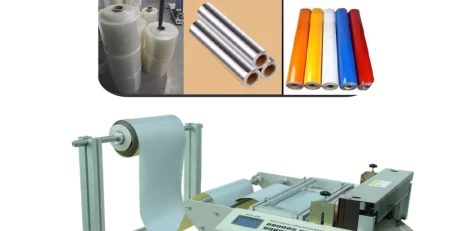
Optimizing Cutting Accuracy
To enhance cutting accuracy and effectively manage fabric flow, install the baffle. The baffle acts as a guide during the cutting process, minimizing fabric movement and leading to cleaner, more precise cuts.
Sharpening for Peak Performance
Before commencing operations, ensure your cutting blade is sharp and properly adjusted. Refer to the manufacturer’s instructions for the appropriate sharpening technique and cutting size calibration. Sharp blades are essential for achieving clean, professional cuts and maximizing blade lifespan.
Conclusion
By following these straightforward steps, you can efficiently install and adjust your fabric cutter. This optimized setup paves the way for seamless cutting operations, empowering you to explore the full potential of this versatile machine. Remember, routine maintenance and blade replacements are crucial for maintaining optimal performance over time.