Prevent Downtime: Auto Wire Cut/Crimp Maintenance
Keeping Your Automatic Wire Cutting and Crimping Machine Running Smoothly
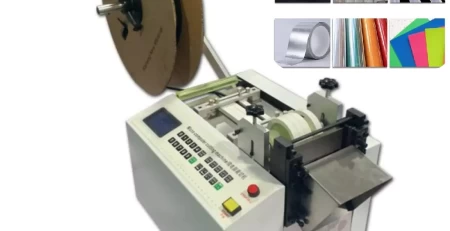
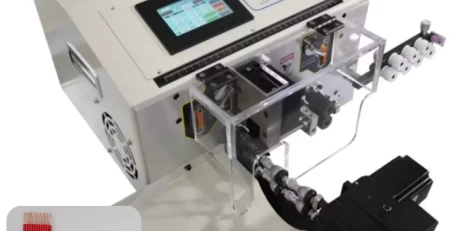
Automatic wire cutting and crimping machines streamline wire processing tasks, enhancing efficiency and production output. However, like any machinery, they require regular maintenance and troubleshooting to ensure optimal performance. Here’s a breakdown of common issues and how to address them:
Uneven Stripping and Opening Lengths:
Cause: Tight or loose wire feeding wheel.
Solution: Adjust the gap between the wheels using the dedicated adjustment device to prevent wire flattening or slipping.
Cause: Shallow or deep blade cut.
Solution: Use the blade depth adjustment device to fine-tune the blade position for smooth insulation removal without damaging the copper wire. If necessary, a replacement blade is recommended.
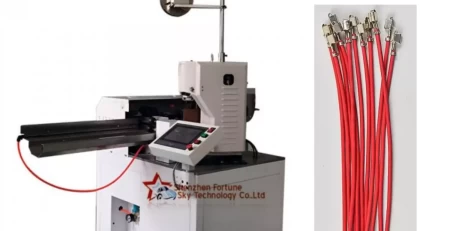
Uneven Copper Wire Exposure on Terminals:
Cause: Misaligned swing arm guide tube or terminal machine blade.
Solution: Ensure proper alignment of the guide tube with the wire and the blade. Tighten any loose components like the terminal machine’s auxiliary pressure block. Verify the distance between the automatic and terminal machines hasn’t changed.
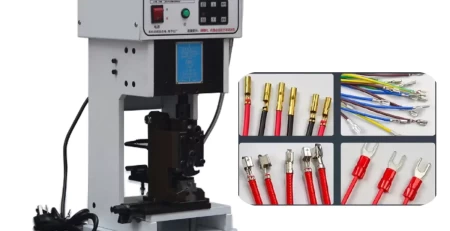
Terminal Machine Startup or Operation Issues:
Cause: Lack of power, insufficient air pressure, jammed wires or parts, or loose connections.
Solution: First, check the power supply, air pressure (should be around 6KG), and identify any obstructions in wires or rotating parts. Additionally, verify secure signal and power connections between the automatic and terminal machines.
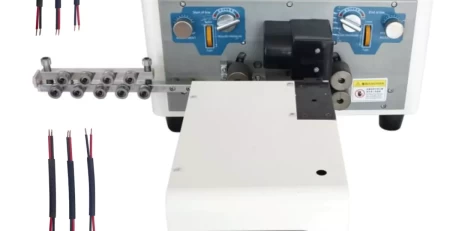
Inconsistent Cutting Lengths in the Terminal Machine:
Cause: Worn or damaged cutting blade.
Solution: Replace the cutting blade for optimal performance.
Cause: Tight or loose wire feeding wheel.
Solution: Adjust the gap between the wheels using the dedicated adjustment device to prevent wire flattening or slipping.
Essential Maintenance Practices:
Visual and Auditory Inspection: Upon powering on the machine, observe the power indicator light. Listen for any unusual noises from inside or outside the machine. Report any concerns to a qualified technician for potential maintenance needs.
Blade Selection and Installation: Only designated personnel should handle blade selection and installation. Ensure the chosen blade matches the required specifications. After installation, perform a manual test using the hand crank. With the machine powered off, activate the touch knob and manually rotate the master and slave wheels using a dedicated wrench to verify proper crimping stroke. If the hand crank feels stiff, investigate the cause, such as excessive pressure, and make adjustments before proceeding. Finally, confirm the tightness of all locking screws before starting operation.
Loading and Adjustment: Load the terminals to be crimped. Utilize an Allen wrench to adjust the feeding pressure plate for smooth terminal passage. Visually inspect the feeding position and adjust using the lever if necessary. Tighten the locking screws and initiate operation.
Tensile Testing: After machine adjustments, conduct a tensile test on scrap wire following the instructions provided in the “Tensile Testing Comparison Table.” Zero the tensile testing function, clamp the terminal wire, and perform the test. If the measured tensile force falls outside the standard range, seek assistance from a technician for readjustment to achieve the desired value.
Quality Control: Conduct a trial production run of 10 pieces for inspection by the designated quality control personnel (IPQC). Proceed with mass production only after receiving approval. During production, terminal operators should continuously check for defects like insulation issues or hanging necks on the crimped terminals. Additionally, hourly tensile tests on the terminals are recommended to maintain consistent quality.
By following these guidelines and addressing potential issues promptly, you can ensure the smooth operation and long-term performance of your automatic wire cutting and crimping machine. Remember, preventive maintenance is crucial for maximizing efficiency and minimizing downtime in your production process.